Snuggle Weather
*German version below | Deutsche Version unten*
Hello everyone! I am Lia and I am back with a new snowy project for you! This time I tried a new to me product, with really good results! Just stay with me and I will tell you all about it! Let’s start with the products I used on this project.
Materials
- Echo Park 6″ x 6″ Stencil – Snow Globe
- Tim Holtz Distress Texture Set – Holiday
- Distress Mica Stain Set – Holiday Set# 4
- Couture Creations – Highland Christmas Mini Die – Fractal Flake
- Studio Light Mixed Paper Pad – Cosy Days
- Studio Light – Paper Pad – Vintage Christmas
- Studio Light Clear Stamps – Snowy Afternoon – Time to stay home
- Ranger – Tim Holtz Distress Oxide Pads
- Sizzix Tim Holtz Thinlits – Holiday Brushstroke #2
- Ranger Texture Paste Opaque Crackle
- Distress Archival Mini Ink Pad Kit – Kit 3

I began with the background. I wanted to used the Distress Icicle Crackle Paste, so I started with this one and the Snow Globe stencil by Echo Park. This Icicle crackle paste is a product new to me. It is very different than regular crackle paste. It really looks like ice! I used the Distress Shiny Bauble Mica Stain spray over the Icicle paste. The liquid really filled the cracks and made them even more prominent. I really love the effect! After my pages were dry, I used a little bit of Hickory Smoke Distress Archival ink around the edges.

Then, I needed to prepare my focal points. I stamped the lantern image and some candles from the Studio Light „Time to stay Home“ stamp set and coloured them using Distress Oxide inks as watercolours. You probably do not know that, but I really love watercolouring! Distress Oxides are really interesting as watercolours due to their oxidizing effect. So, I used the colours Speckled Egg, Antique Linen, Lumberjack Plaid, Wild Honey and Squeezed Lemonade. After my images were dry, I cut them out. I wanted a little bit more colour on my project, so I used the Holiday Brushstroke #2 Thinlits by Tim Holtz and I cut just the little berry branches out of brown and red cardstock.

Of course, there can not be winter scene without some nice snowflakes! So, I used the Fractal Flake mini die by Couture Creations to cut my snowflakes. I didn’t want them to be bright white. I also wanted some gold snowflakes. So, I used gold paper from the Studio Light Vintage Christmas Paper Pad and a toned down, nearly grey coloured paper from the Studio Light Cosy Days Paper Pad. There is a little bit of variation on my white snowflakes because the paper had an ombre effect and I like it!
My sentiment also comes from the Studio Light Cosy Days Paper Pad. The sentiments of this pad are printed on Vellum. I cut one out and stuck it on white cardstock. When I attached it on my pages, I covered the edges with Opaque Crackle Texture Paste by Ranger, just to blend it in a little better. I also used the same crackle paste to ground my lantern images. I put everything together, adding more crackle paste wherever it was needed.

And that was my project for today! I really hope you like it! I hope you got inspired! Do not forget that our Winter/Snowflakes challenge still runs. You can find more information about it at Stamping Fairies Facebook and Instagram pages. We will see each other again next Monday! Until then, stay creative and have fun!
*Deutsche Version*
Hallo alle zusammen! Ich bin Lia und ich bin zurück mit einem neuen Schneeprojekt für euch! Dieses Mal habe ich ein neues Produkt ausprobiert, mit wirklich guten Ergebnissen! Bleibt einfach bei mir und ich werde euch alles darüber erzählen! Beginnen wir mit den Produkten, die ich für dieses Projekt verwendet habe.
Materialien
- Echo Park 6″ x 6″ Stencil – Snow Globe
- Tim Holtz Distress Texture Set – Holiday
- Distress Mica Stain Set – Holiday Set# 4
- Couture Creations – Highland Christmas Mini Die – Fractal Flake
- Studio Light Mixed Paper Pad – Cosy Days
- Studio Light – Paper Pad – Vintage Christmas
- Studio Light Clear Stamps – Snowy Afternoon – Time to stay home
- Ranger – Tim Holtz Distress Oxide Pads
- Sizzix Tim Holtz Thinlits – Holiday Brushstroke #2
- Ranger Texture Paste Opaque Crackle
- Distress Archival Mini Ink Pad Kit – Kit 3
Ich habe mit dem Hintergrund begonnen. Ich wollte die Distress Icicle Crackle Paste verwenden, also habe ich mit dieser und der Snow Globe Schablone von Echo Park angefangen. Diese Icicle Crackle Paste ist ein Produkt, das mir neu ist. Es ist ganz anders als normale Crackle-Paste. Es sieht wirklich aus wie Eis! Ich habe das Distress Shiny Bauble Mica Stain Spray über der Icicle Paste verwendet. Die Flüssigkeit hat die Crackle Spalten wirklich gefüllt und sie noch markanter gemacht. Ich liebe den Effekt! Nachdem meine Seiten trocken waren, habe ich ein wenig Hickory Smoke Distress Archival Ink an den Rändern verwendet.
Dann musste ich meine Schwerpunkte vorbereiten. Das Laternenbild und einige Kerzen habe ich aus dem Stempelset „Time to stay Home“ von Studio Light gestempelt und mit Distress Oxide-Tinten als Wasserfarbe koloriert. Ihr wisst das bestimmt nicht, aber ich liebe das Aquarellieren! Distress Oxide sind aufgrund ihrer oxidierenden Wirkung als Aquarellfarben sehr interessant. Also habe ich die Farben Speckled Egg, Antique Linen, Lumberjack Plaid, Wild Honey und Squeezed Lemonade verwendet. Nachdem meine Bilder trocken waren, habe ich sie ausgeschnitten. Ich wollte ein bisschen mehr Farbe für mein Projekt, also habe ich die Holiday Brushstroke #2 Thinlits von Tim Holtz verwendet und nur die kleinen Beerenzweige aus braunem und rotem Karton geschnitten.
Natürlich kann es keine Winterszene ohne schöne Schneeflocken geben! Also habe ich die Fractal Flake Ministanze von Couture Creations verwendet, um meine Schneeflocken auszustanzen. Ich wollte nicht, dass sie strahlend weiß sind. Ich wollte auch ein paar goldene Schneeflocken. Also habe ich goldenes Papier vom Studio Light Vintage Christmas Paper Pad und ein abgetöntes, fast graues Papier vom Studio Light Cozy Days Paper Pad verwendet. Es gibt ein bisschen Variation bei meinen weißen Schneeflocken, weil das Papier einen Ombre-Effekt hat und ich mag es!
Mein Spruch kommt auch vom Studio Light Cozy Days Paper Pad. Die Stimmungen dieses Blocks sind auf Pergament gedruckt. Eine davon habe ich ausgeschnitten und auf weißen Karton geklebt. Als ich es auf meine Seiten aufgetragen habe, habe ich die Ränder mit Ranger’s Opaque Crackle Texture Paste bedeckt, nur um es ein wenig mehr auszublenden. Ich habe auch die gleiche Crackle Paste verwendet, um meine Laternenbilder zu erden. Ich habe alles zusammengefügt und wo nötig mehr Crackle Paste hinzugefügt.

Und das war mein Projekt für heute! Ich hoffe sehr, dass es euch gefällt! Ich hoffe, ihr habt euch inspirieren lassen! Vergesst nicht, dass unsere Winter/Schneeflocken-Challenge noch läuft. Weitere Informationen dazu findet euch auf den Facebook- und Instagram-Seiten von Stamping Fairies. Wir sehen uns nächsten Montag wieder! Bis dahin bleibt kreativ und habt Spaß!


Das könnte dich auch interessieren
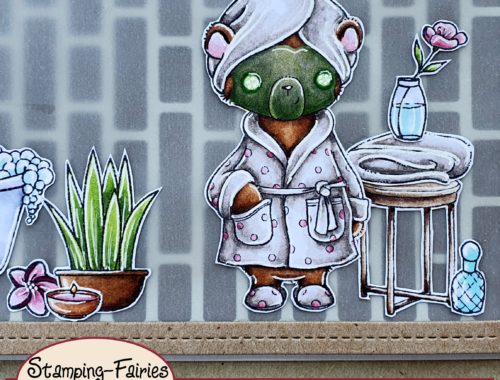
Ein bisschen Wellness…
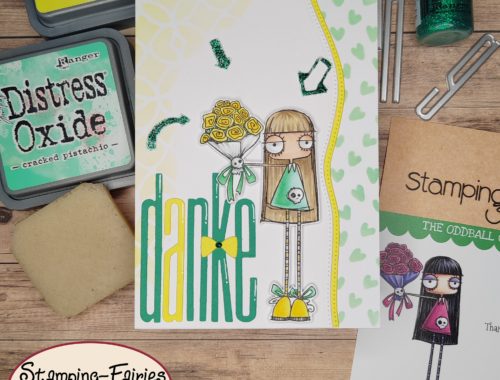
Sag ‚Danke‘ mit Blumen