Ho Ho Ho
*German version below | Deutsche Version unten*
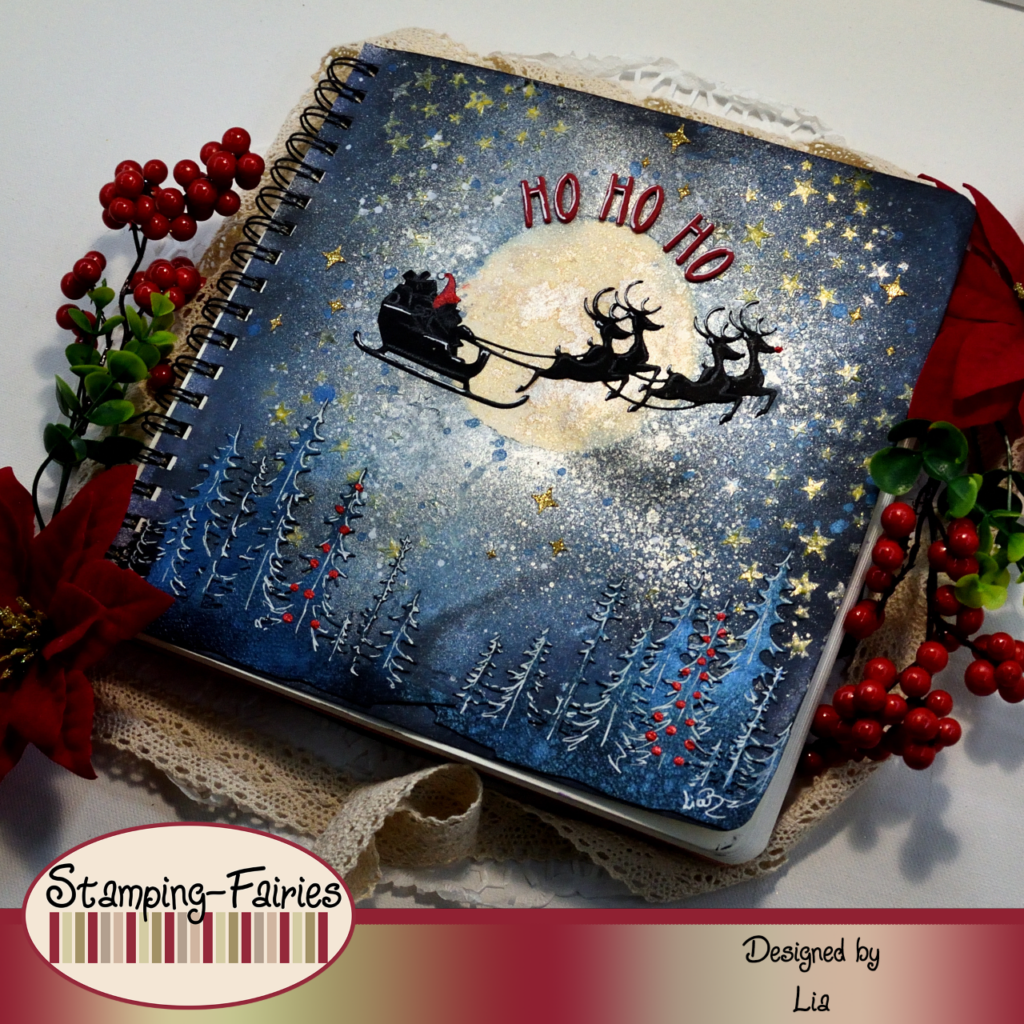
Hello everyone! Welcome back to another mixed media project. For today’s project, I built a magical moon scene. Of course it is all about Christmas! Let’s start with the materials I used:
Materials (If something is not in stock, please simply click on “Product reminder”/ “Produkterinnerung”)
- Tim Holtz Layering Stencil – Falling Stars
- Ranger – Tim Holtz Distress Oxide Pads
- Tim Holtz Texture Paste – Sparkle
- Tim Holtz Layering Mask – Moon Mask
- Distress Oxide Sprays
- Distress Mica Stain Sprays
- Distress Spritz – Uncharted Mariner
- Distress Paint – Picket Fence
- Sizzix Tim Holtz Thinlits – Reindeer Sleigh
- Sizzix Tim Holtz Thinlits – Forest Shadows
- Sizzix Tim Holtz Thinlits – Santa Greetings, Colorize
- Black and Red Cardstock
- Kaisercraft Glitter Cardstock – Golden
- Wendy Vecchi Liquid Pearls – Carnation Red

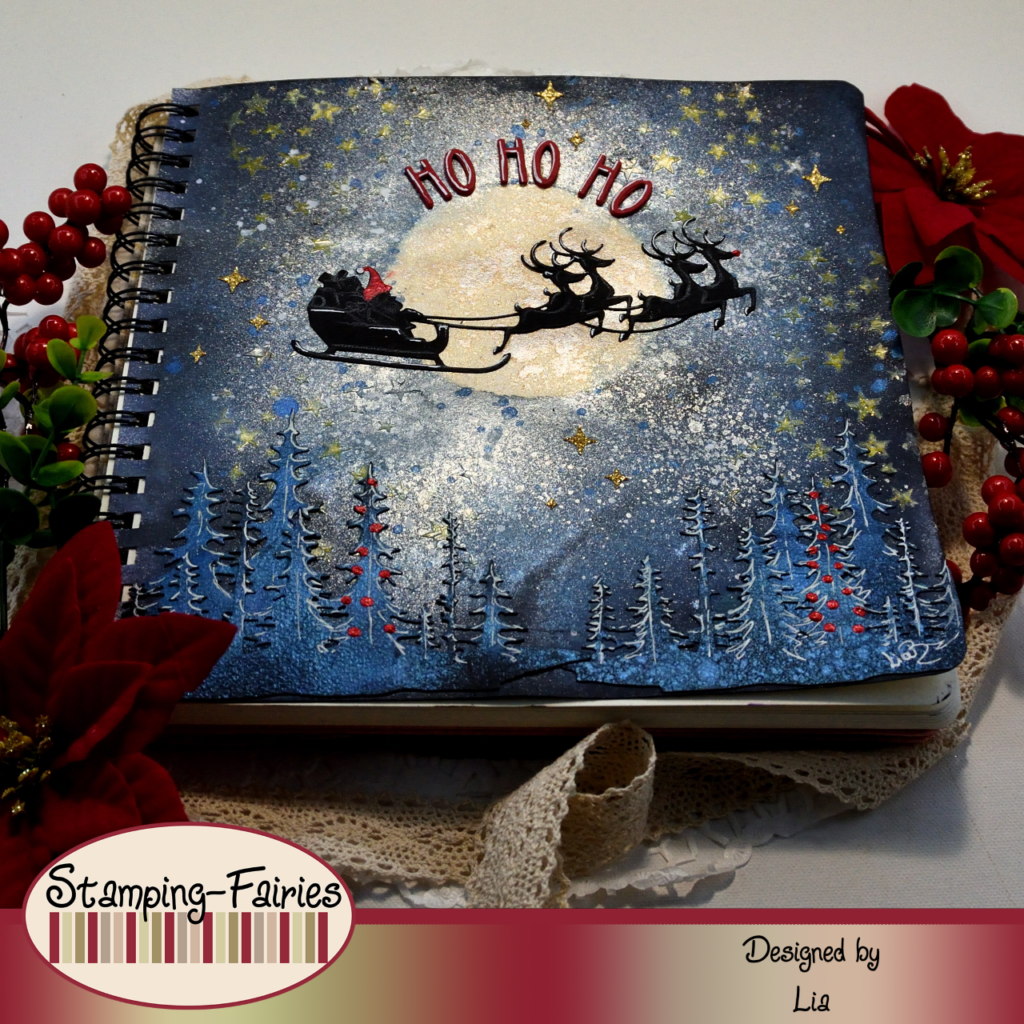
For this project, I worked in my square Journal and I started with the background. I wanted to create a night sky and I wanted some shiny stars. So, I used the Falling Stars Layering Stencil with Squeezed Lemonade Distress Oxide ink, to create the stars. Then, I positioned my stencil over the stars again and I covered them with Distress Texture Paste Sparkle. This Paste is translucent and it resists the inks, so I knew that my stars would be visible after all the colour was added. Next, I created my moon and sky. I used the mask part from the Tim Holtz Moon Mask and I placed it on the center of my page. The I added colour to my sky, using Black Soot, Chipped Sapphire and Stormy Sky Distress Oxide inks along with Winter Frost Distress Mica Stain Spray. I sprayed with the inks, sprayed with water, I left the colours to move and blend, dabbed off the excess and then I removed the moon mask and I dried the page. I placed the moon stencil over the moon area and I sprayed over it with the Unravelled Distress Mica Stain Spray. I made sure that my Stain Spray will go all around the moon, creating a big halo. I removed the stencil, dried the page and then I added splatter using the Picket Fence Distress Paint (for more stars) and the Uncharted Mariner Distress Spritz. I dried the page again, added some Black Soot Distress Oxide ink around the edges and the background was done.

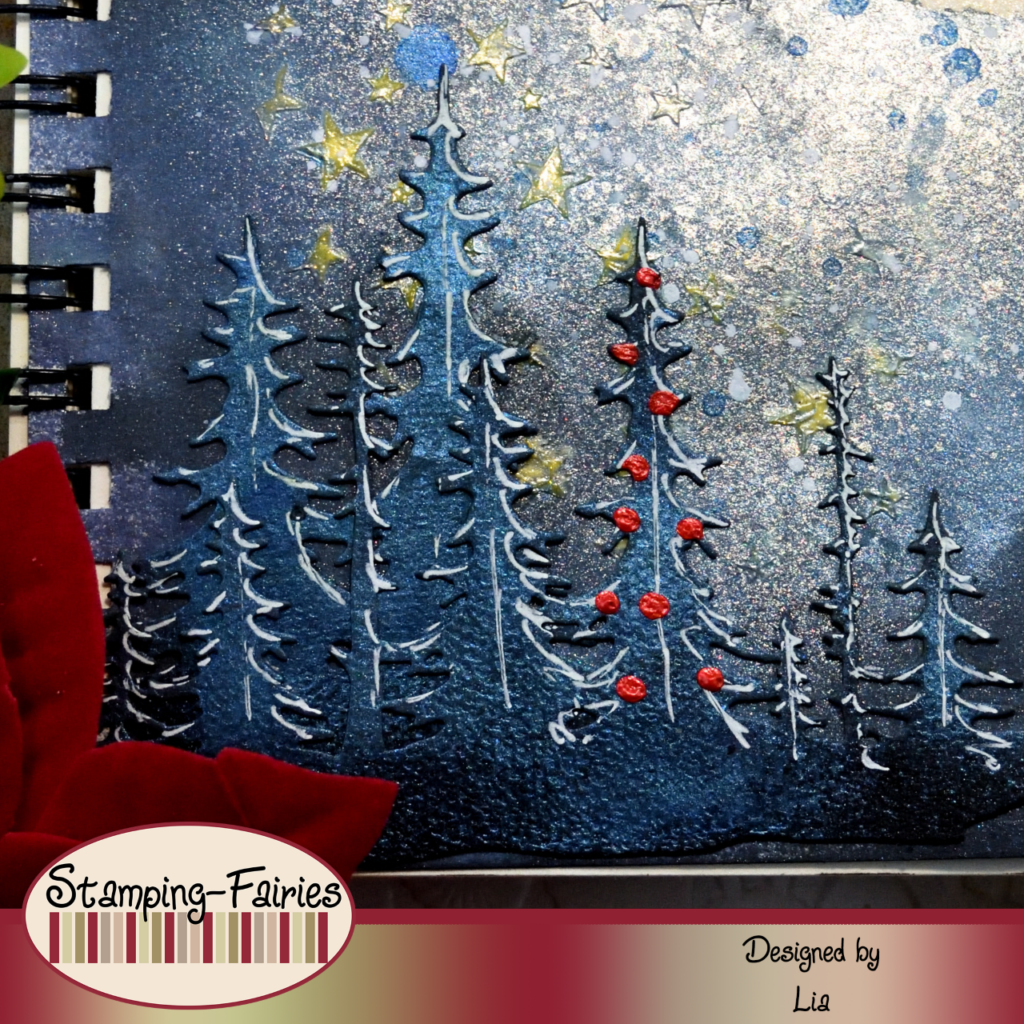
Time to prepare my images! I used the Sizzix Reindeer Sleigh Thinlits set to cut my main image, which is the Santa riding in his sleigh in front of the moon. I cut the images out of black cardstock and I added some highlights to them with a white pencil. Next, I used the Sizzix Forest Shadows Thinlits set to cut my trees, also out of black cardstock. I sprayed the trees with Uncharted Mariner Distress Spritz and then I placed them on the lower part of my page. I also used a white Gelly Roll pen to add more highlights on all of my black images.
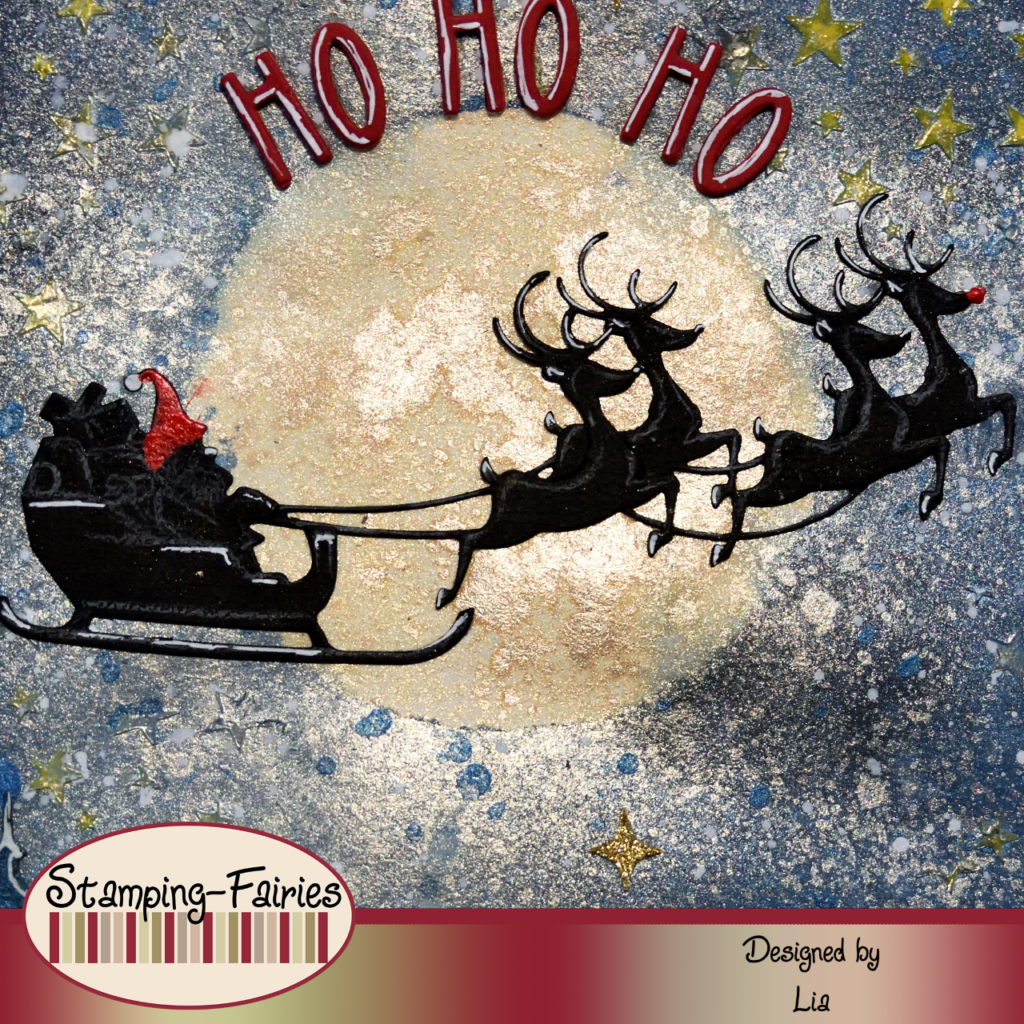
My sentiment is cut with the alphabet set from the Sizzix Santa Greetings, Colorize Thinlits set. I cut the letters out of red cardstock and red fan foam and then I stacked them on each other to create dimension. The sentiment is nothing more that a simple „Ho Ho Ho“ because the Santa has to make his presence noticed! As a last little bit of embellishment, I used the little twinkly stars dies from the Sizzix Forest Shadows Thinlits set, I cut the stars out of gold glitter cardstock and I placed them all over the page. Because we can never have enough stars! In the end, I added a little bit of Carnation Red Liquid Pearls on the Santa’s hat and the nose of one of the reindeers. I also added some Liquid Pearls dots on two of the trees.
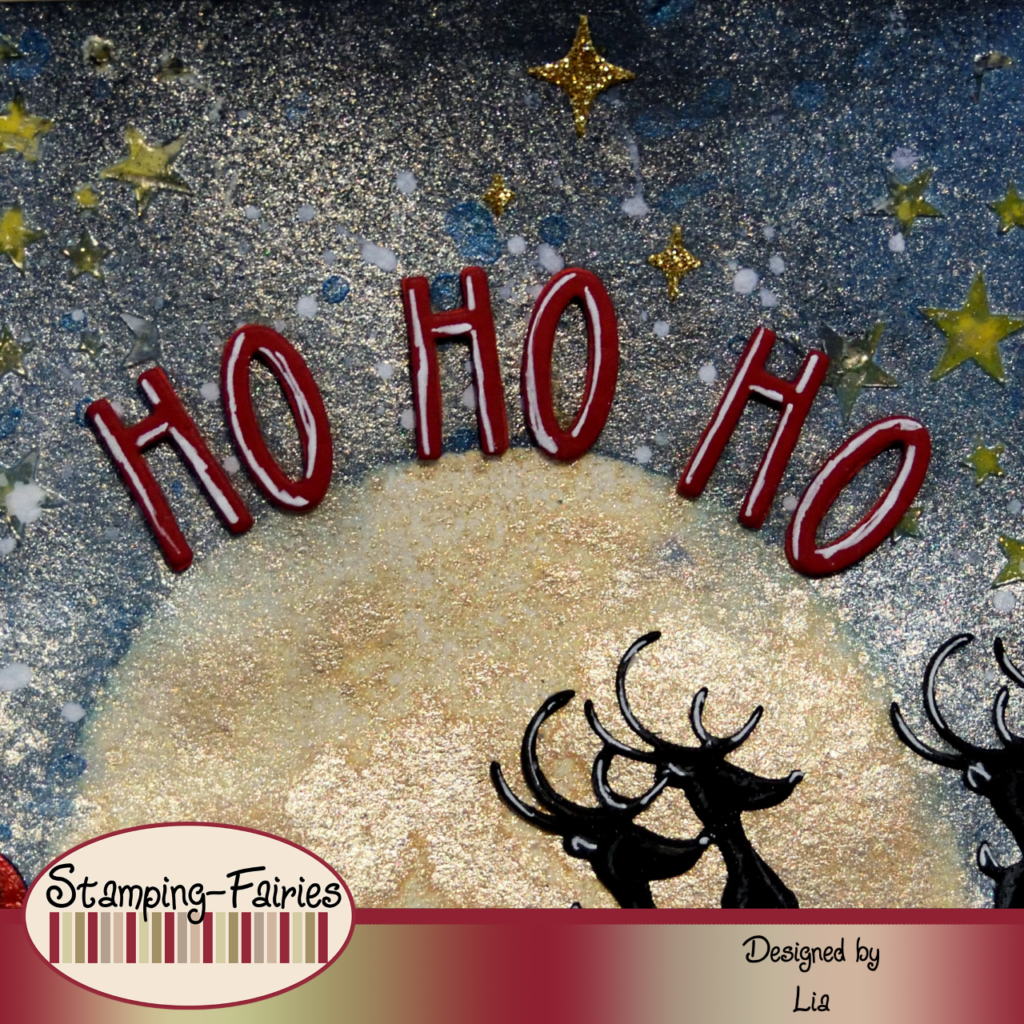
And that was the project for today! I love how the Distress Spritz appears on this page. It looks a little less sparkly than the Unravelled Mica Stain, but it still looks really good. What do you think? I really hope you like today’s project! I hope you got inspired! We will see each other again next Monday! Until then, stay creative and have fun!
*Deutsche Version*
Hallo zusammen! Willkommen zurück zu einem weiteren Mixed-Media Projekt. Für das heutige Projekt habe ich eine magische Mondszene gebaut. Natürlich dreht sich alles um Weihnachten! Beginnen wir mit den Materialien, die ich verwendet habe:
Materialien (wenn etwas nicht auf Lager ist, bitte einfach auf „Produkterinnerung“ klicken)
- Tim Holtz Layering Stencil – Falling Stars
- Ranger – Tim Holtz Distress Oxide Pads
- Tim Holtz Texture Paste – Sparkle
- Tim Holtz Layering Mask – Moon Mask
- Distress Oxide Sprays
- Distress Mica Stain Sprays
- Distress Spritz – Uncharted Mariner
- Distress Paint – Picket Fence
- Sizzix Tim Holtz Thinlits – Reindeer Sleigh
- Sizzix Tim Holtz Thinlits – Forest Shadows
- Sizzix Tim Holtz Thinlits – Santa Greetings, Colorize
- Schwarzer und roter Karton
- Kaisercraft Glitter Cardstock – Golden
- Wendy Vecchi Liquid Pearls – Carnation Red
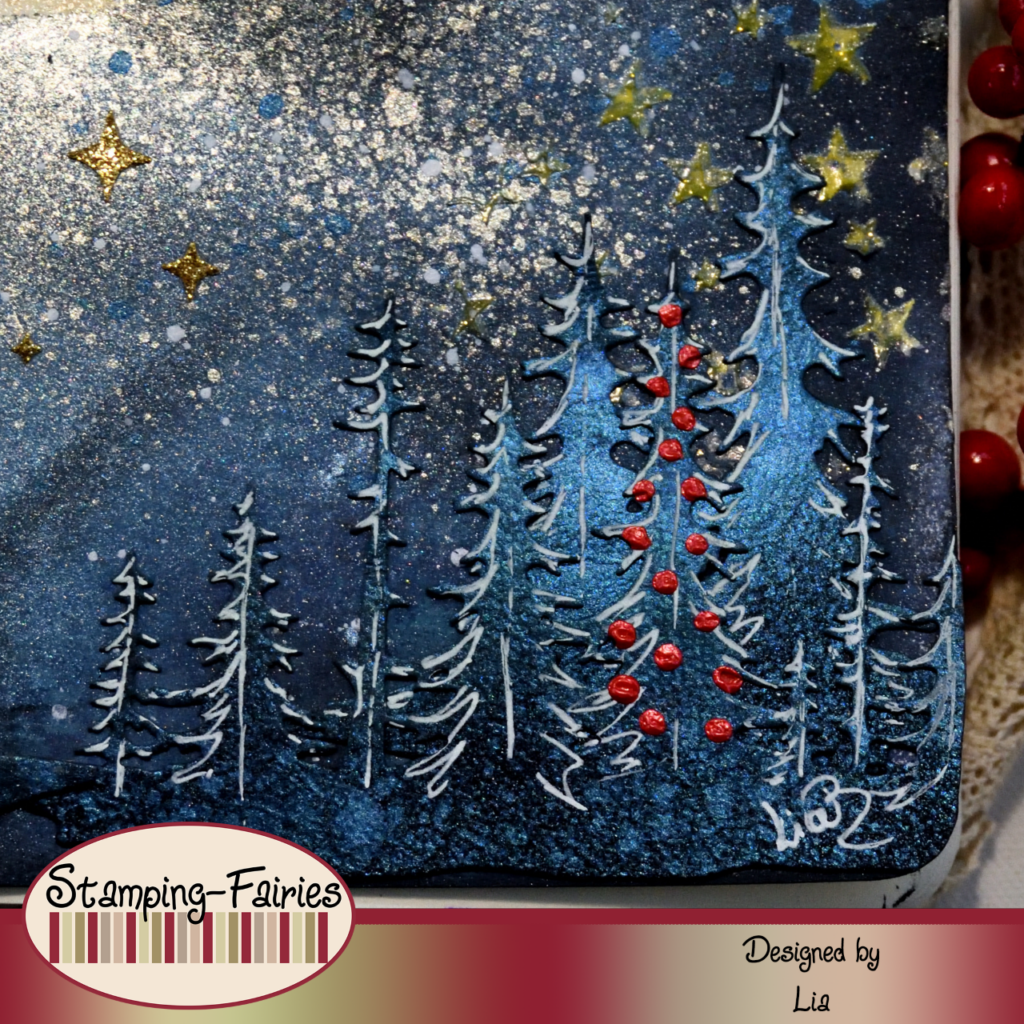
Für dieses Projekt habe ich in meinem quadratischen Journal gearbeitet und mit dem Hintergrund begonnen. Ich wollte einen Nachthimmel und ein paar glänzende Sterne erstellen. Also habe ich die Falling Stars Layering Stencil mit Squeezed Lemonade Distress Oxide Tinte verwendet, um die Sterne zu erstellen. Dann habe ich meine Schablone erneut über die Sterne gelegt und sie mit Distress Texture Paste Sparkle bedeckt. Diese Paste ist durchscheinend und tintenbeständig, daher wusste ich, dass meine Sterne sichtbar sein würden, nachdem alle Farben hinzugefügt worden waren. Als Nächstes habe ich meinen Mond und meinen Himmel erstellt. Ich habe den Maskenteil der Tim Holtz Moon Mask verwendet und ihn in die Mitte meiner Seite gelegt. Dann habe ich meinem Himmel Farbe verliehen, indem ich Black Soot, Chipped Sapphire und Stormy Sky Distress Oxide Tinten sowie Winter Frost Distress Mica Stain Spray verwendet habe. Ich habe die Tinten gesprüht, Wasser darüber versprüht, die Farben sich bewegen und vermischen lassen, den Überschuss abgetupft, dann die Mondmaske entfernt und die Seite getrocknet. Ich habe die Mondschablone über den Mondbereich gelegt und sie mit dem Unravelled Distress Mica Stain Spray besprüht. Ich habe sicher gestellt, dass mein Stain Spray den ganzen Mond umgibt und einen großen Mondschein bildet. Ich habe die Schablone entfernt, die Seite getrocknet und dann Spritzer mit dem Picket Fence Distress Paint (für mehr Sterne) und dem Uncharted Mariner Distress Spritz hinzugefügt. Ich habe die Seite erneut getrocknet, etwas Black Soot Distress Oxide Tinte an den Rändern hinzugefügt und der Hintergrund war fertig.
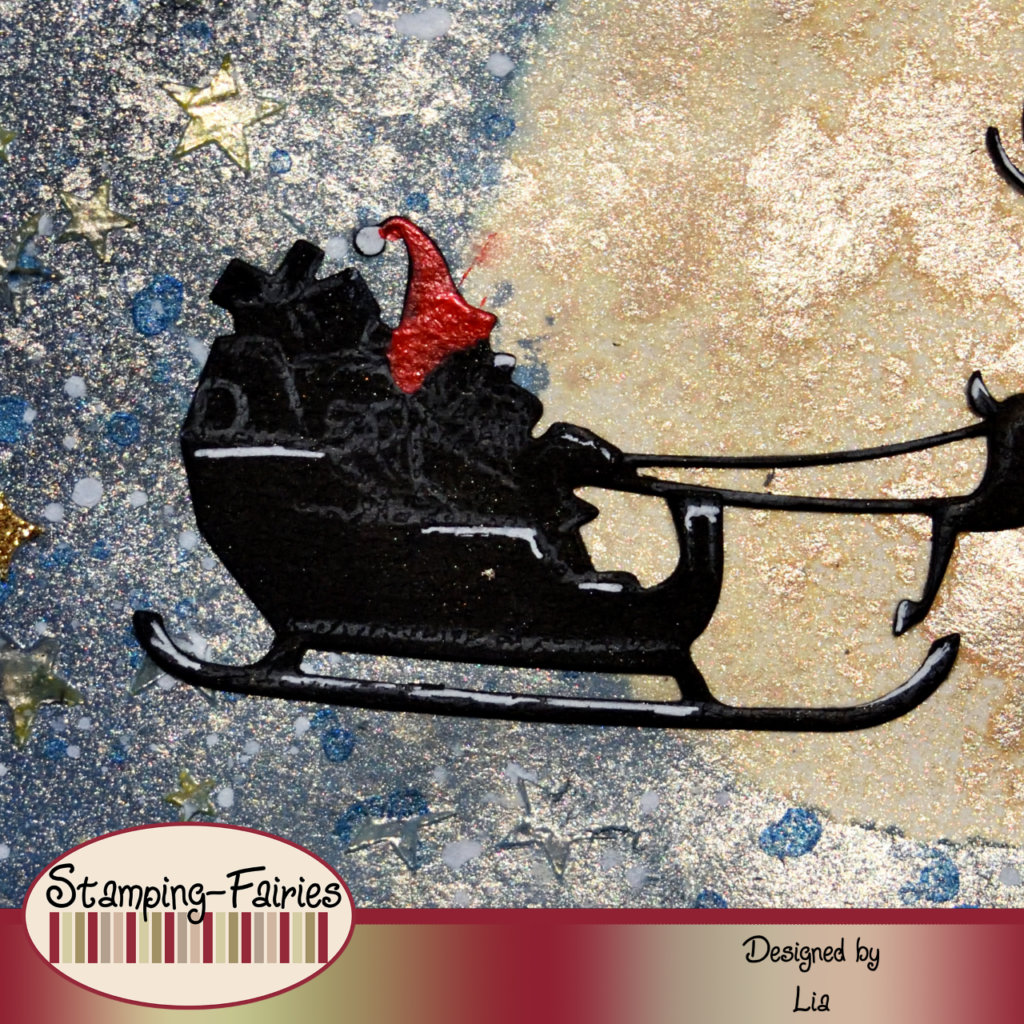
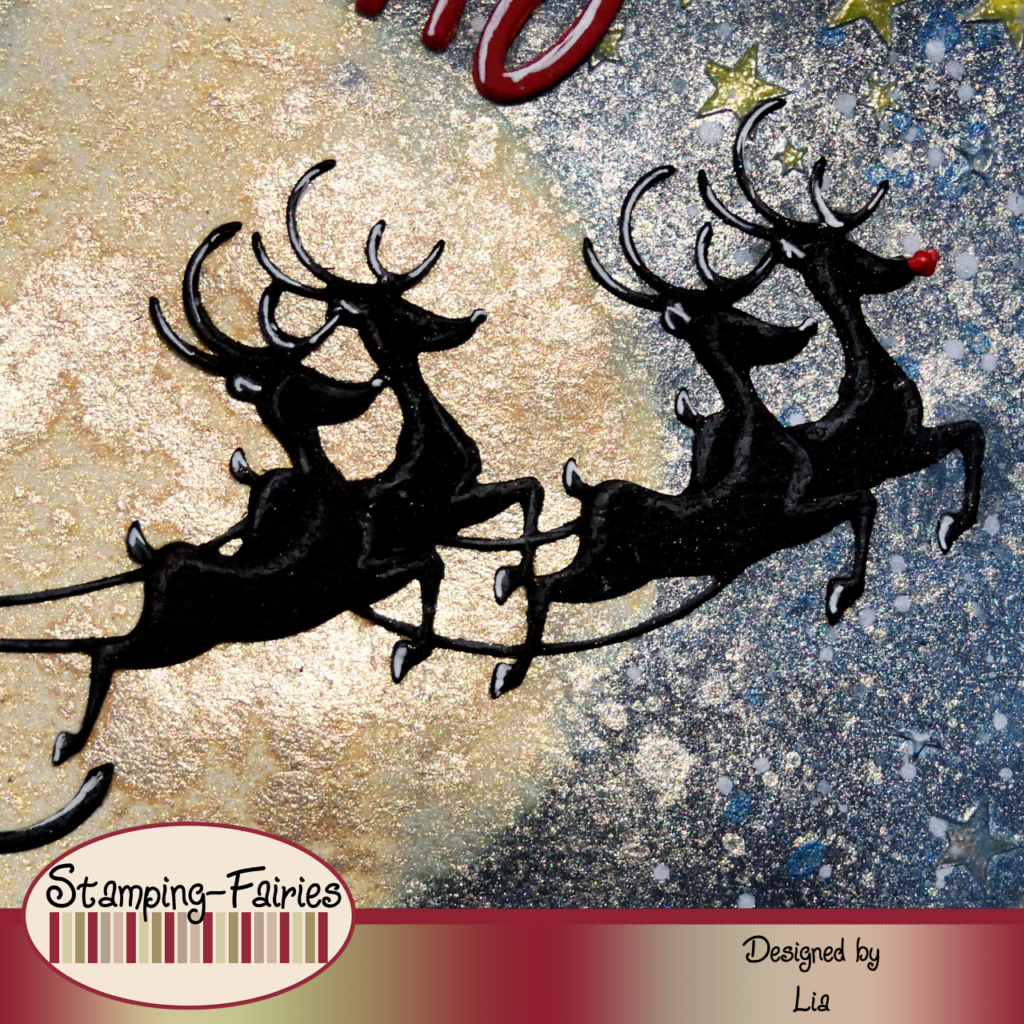
Zeit, meine Bilder vorzubereiten! Ich habe das Sizzix Reindeer Sleigh Thinlits Set verwendet, um mein Hauptbild auszuschneiden, das den Weihnachtsmann zeigt, der in seinem Schlitten vor dem Mond fährt. Ich habe die Bilder aus schwarzem Karton ausgeschnitten und mit einem weißen Stift einige Highlights hinzugefügt. Als Nächstes habe ich das Sizzix Forest Shadows Thinlits Set verwendet, um meine Bäume auszuschneiden, ebenfalls aus schwarzem Karton. Ich habe die Bäume mit Uncharted Mariner Distress Spritz besprüht und sie dann im unteren Teil meiner Seite platziert. Ich habe auch einen weißen Gelly Roll Stift verwendet, um allen meinen schwarzen Bildern weitere Highlights hinzuzufügen.
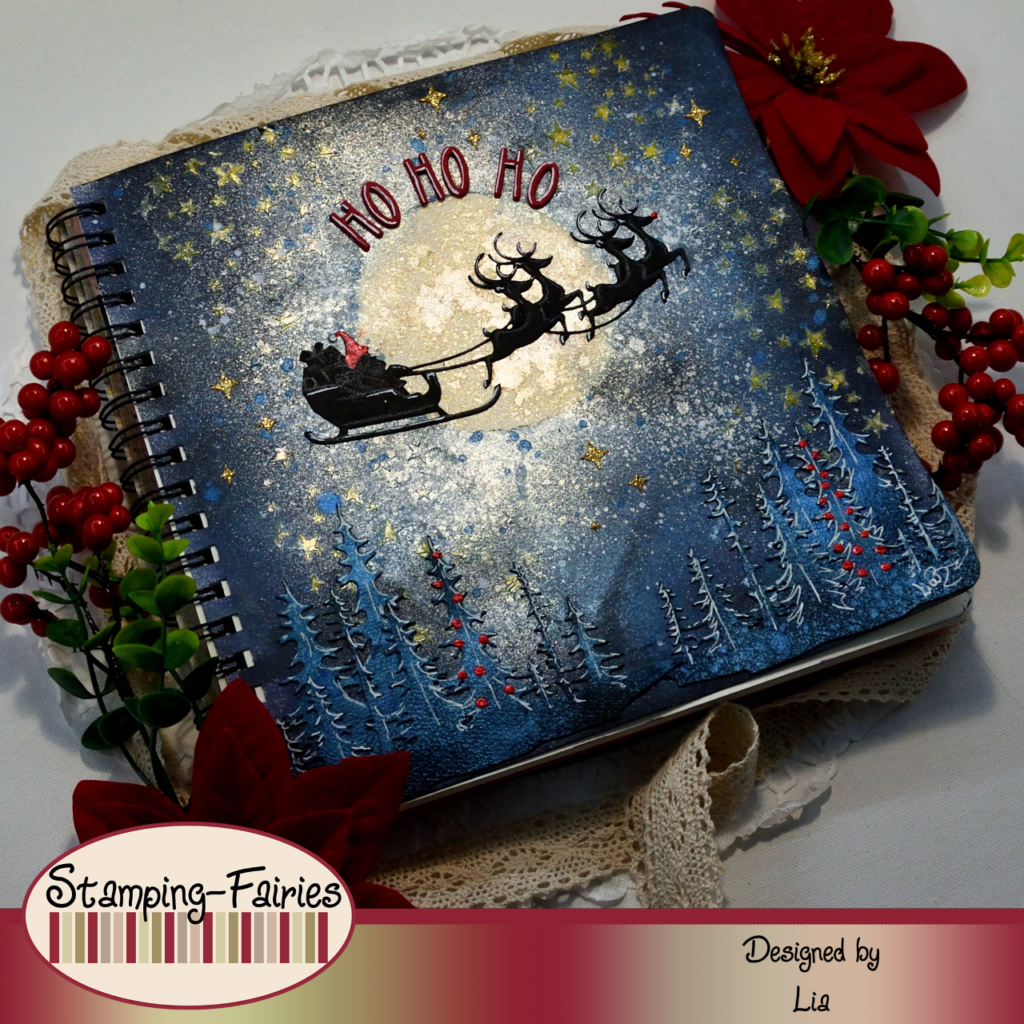
Mein Spruch ist mit dem Alphabet Set aus dem Sizzix Santa Greetings, Colorize Thinlits Set ausgestanzt. Ich habe die Buchstaben aus rotem Karton und rotem Fächerschaumstoff ausgeschnitten und sie dann aufeinander gestapelt, um eine gewisse Dimension zu erzeugen. Der Spruch ist nichts weiter als ein einfaches „Ho Ho Ho“, denn der Weihnachtsmann muss seine Anwesenheit bemerkbar machen! Als letzte kleine Verzierung habe ich die kleinen funkelnden Sterne aus dem Sizzix Forest Shadows Thinlits Set verwendet, die Sterne aus goldenem Glitzerkarton ausgeschnitten und sie überall auf der Seite platziert. Denn wir können nie genug Sterne haben! Zum Schluss habe ich noch ein wenig Liquid Pearls in Carnation Red auf die Weihnachtsmütze und die Nase eines der Rentiere aufgetragen. Außerdem habe ich auf zwei der Bäume ein paar Liquid Pearls Punkte gesetzt.
Und das war das Projekt für heute! Ich liebe, wie der Distress Spritz auf dieser Seite aussieht. Er funkelt etwas weniger als der Unravelled Mica Stain, aber er sieht trotzdem richtig gut aus. Was meint ihr? Ich hoffe sehr, dass euch das heutige Projekt gefällt! Ich hoffe, ihr habt euch inspirieren lassen! Wir sehen uns nächsten Montag wieder! Bis dahin bleibt kreativ und habt Spaß!

Heimelige Weihnachten

#friendsforlife
Das könnte dich auch interessieren
Santa´s Elves are coming
31. Oktober 2023
Best Buds
21. Mai 2023