Easter Wishes
*German version below | Deutsche Version unten*
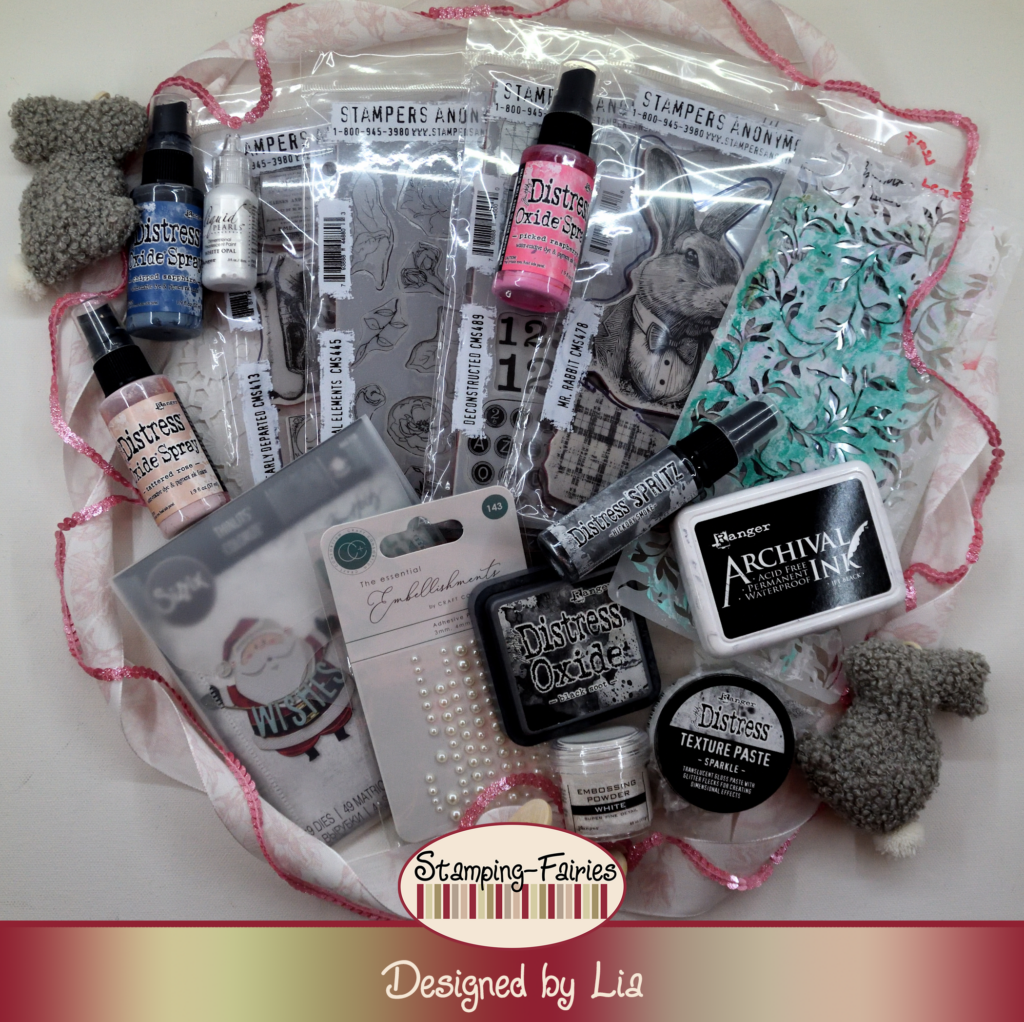
Hello everyone! Welcome back to another Mixed Media project. I have another Easter project to share with you today. This time, I used my inks to create somewhat of a magical effect… or at least that is what I was going for. Let me know if I made it! Let’s start with the materials I used:
Materials
(If something is not in stock,
please simply click on “Product reminder”/ “Produkterinnerung”)
- Prima Marketing – Art Basics – Gesso Clear
- Stamperia Stencil – Leaf
- Tim Holtz Distress Texture Paste – Sparkle
- Distress Oxide Sprays
- Tim Holtz Stamp Set – Deconstructed – Dearly Departed – MR. Rabbit
- Archival Ink – Jet Black
- Distress Paint – Picket Fence
- Liquid Pearls – White Opal
- Distress Spritz – Hickory Smoke
- Ranger – Tim Holtz Distress Oxide Pad – Black Soot
- Tim Holtz Distress Micro Glaze
- Tim Holtz Stamp Set – Floral Elements
- Ranger Embossing Pulver – White Super Fine Detail
- Sizzix Tim Holtz Thinlits – Santa Greetings, Colorize
- Craft Consortium Essential Adhesive Pearls – Natural
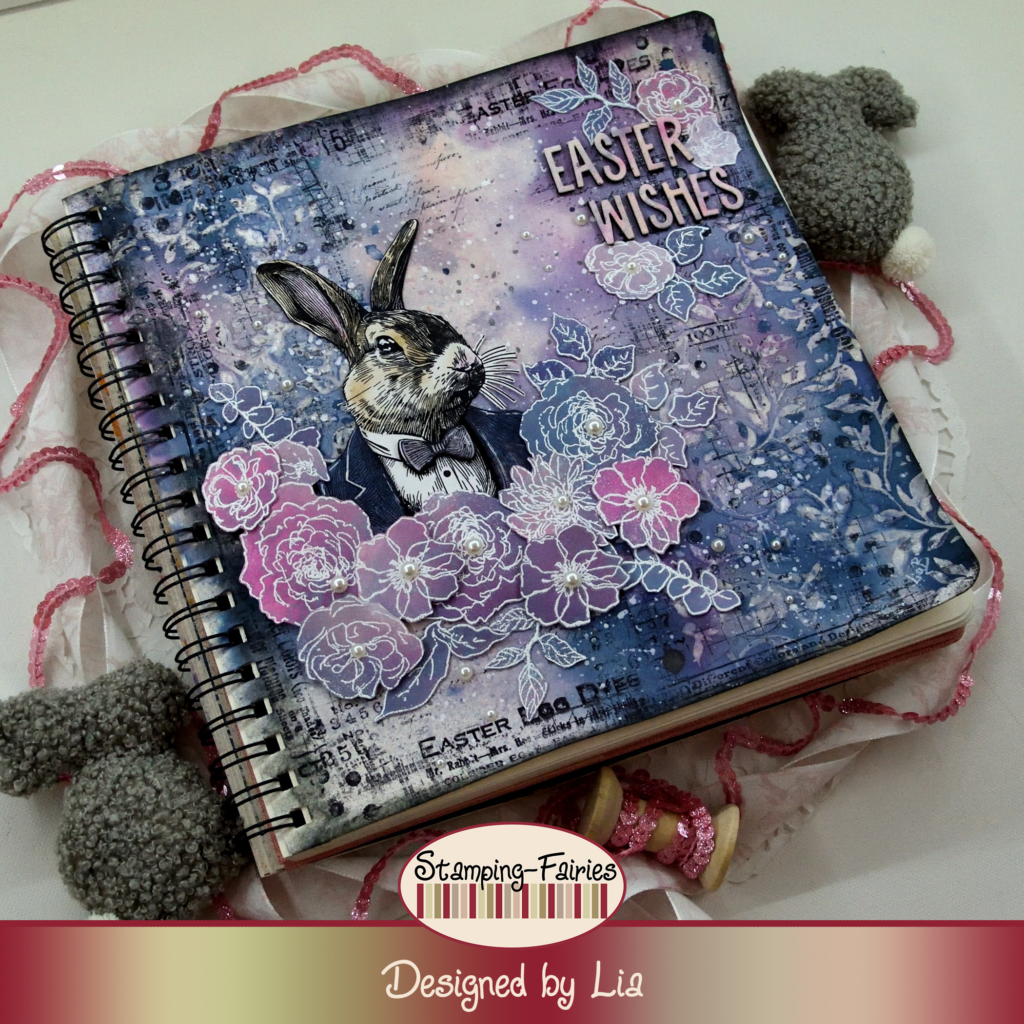
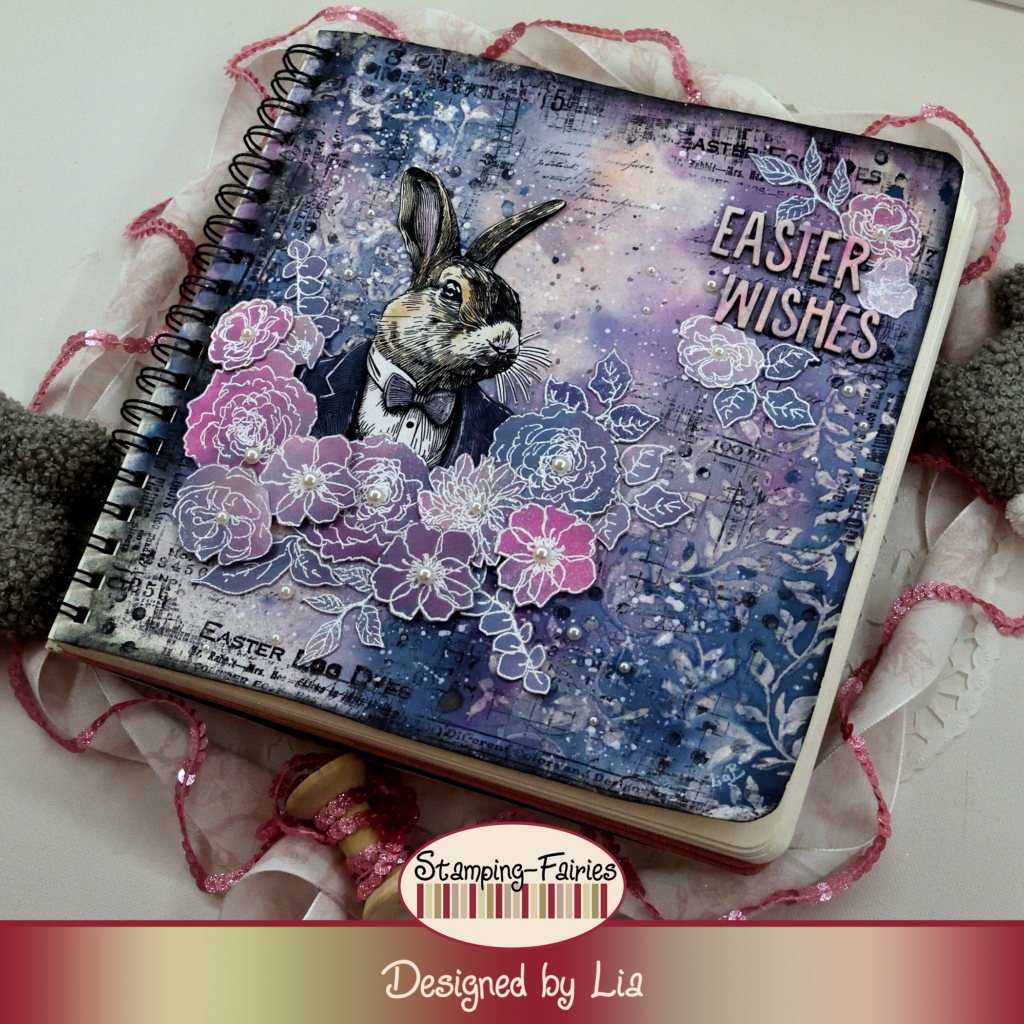
For this project, I worked in a big art journal and I started with the background. I was going to use wet mediums, so I started by applying a good layer of Gesso, to protect my page. I dried the Gesso and then I added some texture, using the Stamperia Leaf stencil with Ranger Sparkle Distress Texture Paste. I created the leaf design on the top left and bottom right corner of my page. I left the Paste to dry and then I added colour with Distress Oxide inks, in colours Chipped Sapphire, Picked Raspberry and Tattered Rose. I sprayed with the inks, added a bit of water, I allowed the colours to move and blend, I dabbed off the excess and then I dried the page. The colours blended with each other, creating a beautiful effect! Next is stamping! I used stamps from the Tim Holtz Deconstructed, Dearly Departed and Mr. Rabbit stamp sets, with Jet Black Archival ink, and I stamped mostly around the edges of the page and in the areas with the leaf design. I have both bold text and fine text details, which makes me really happy! Then I added splatter. I have three types of splatter on this page! Because splatter is never enough! First, I used Picket Fence Distress Paint (white) and splattered with it. Then, I diluted some White Opal Liquid Pearls and splattered with it. Last, I used the Hickory Smoke Distress Spritz. I used Black Soot Distress Oxide ink to darken the edges of my page and the background was done.
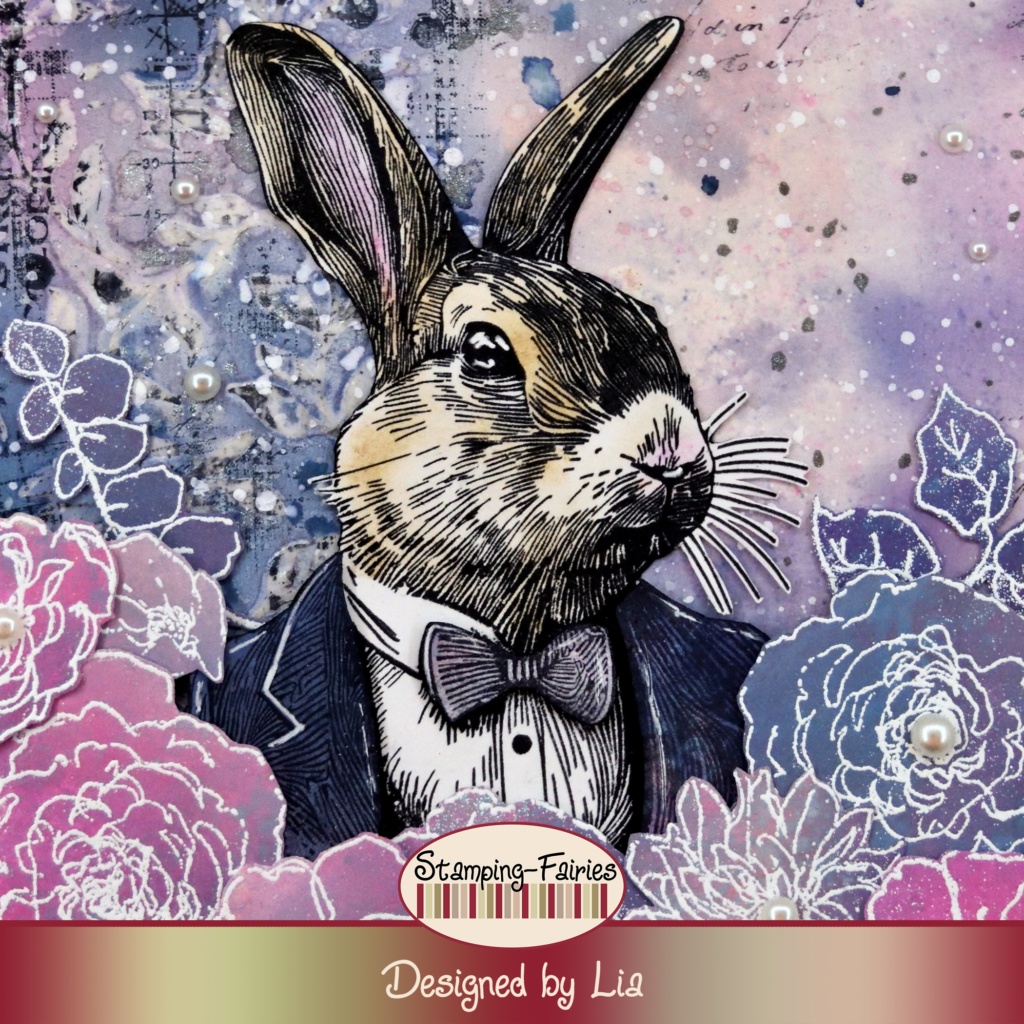
Time to prepare my images! My main image is the Rabbit. He comes from the Tim Holtz Mr.Rabbit stamp set and he is stamped with Jet Black Archival ink on white cardstock. I used a soft brush and I added some colour on him with Vintage Photo and Picked Raspberry Distress inks. For my next step, I needed to create the paper I would cut things out of. So, I started with a piece of watercolour paper and I sprayed it with my Distress Oxide inks (Chipped Sapphire, Picked Raspberry and Tattered Rose) and some water. I dried it and I treated it with Micro Glaze. The Micro Glaze cleared the chalky look of the Distress Oxide inks and made the colours more vibrant. I chose a darker part of this paper and I stamped the jacket and the bow tie of Mr. Rabbit. I cut them out and attached them to the Rabbit. So, I now had a somewhat dimensional piece. Next, I needed to create my flowers. I chose the lighter, more pink areas of my watercolour paper and I heat embossed the flowers and leaves from the Tim Holtz Floral Elements stamp set, with Ranger White embossing powder. I cut them out and placed them around my Rabbit.
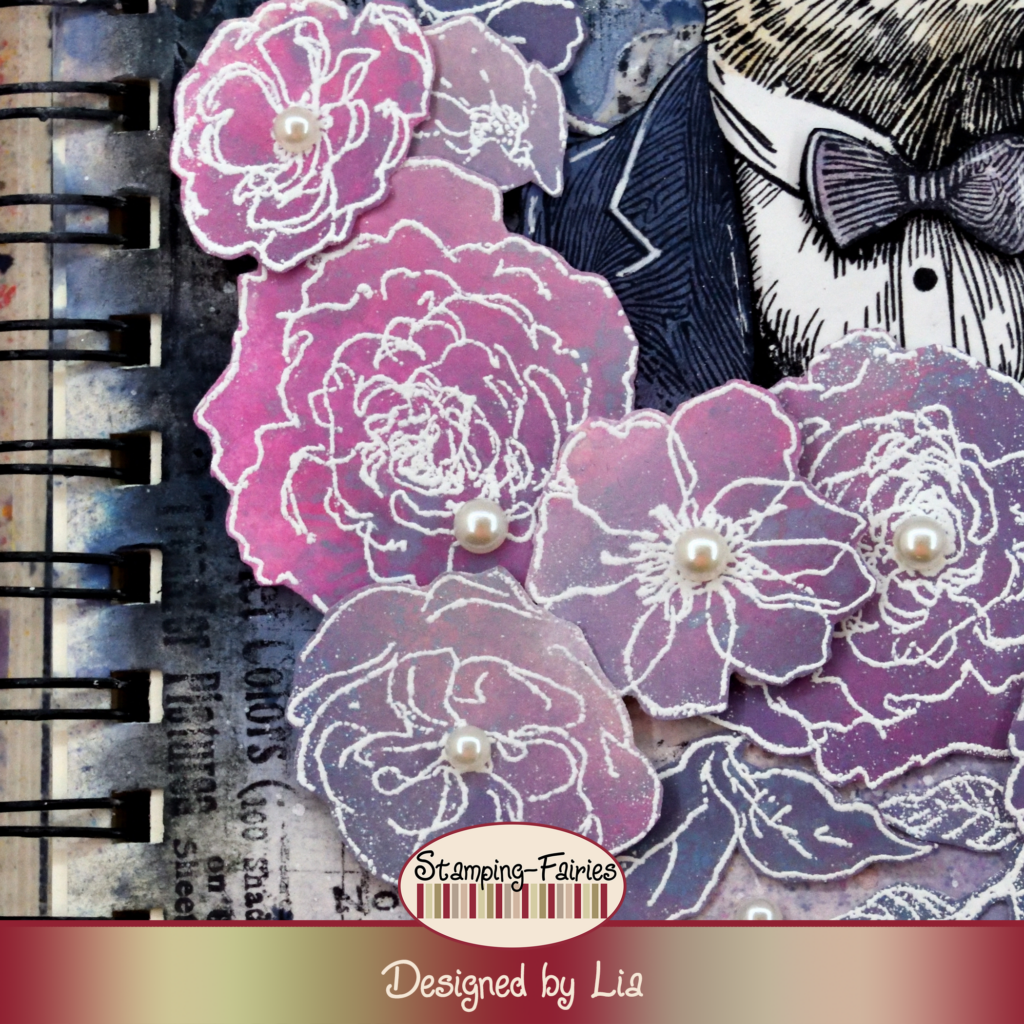

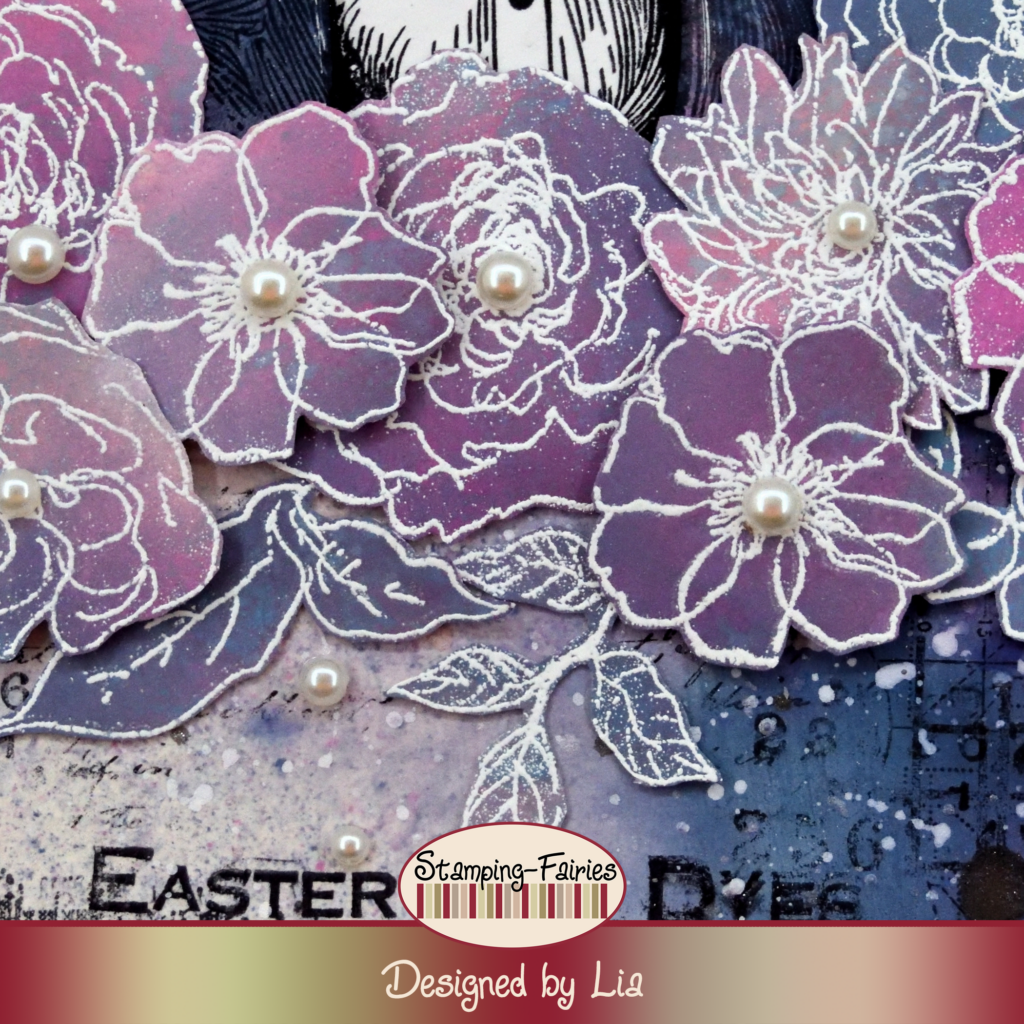
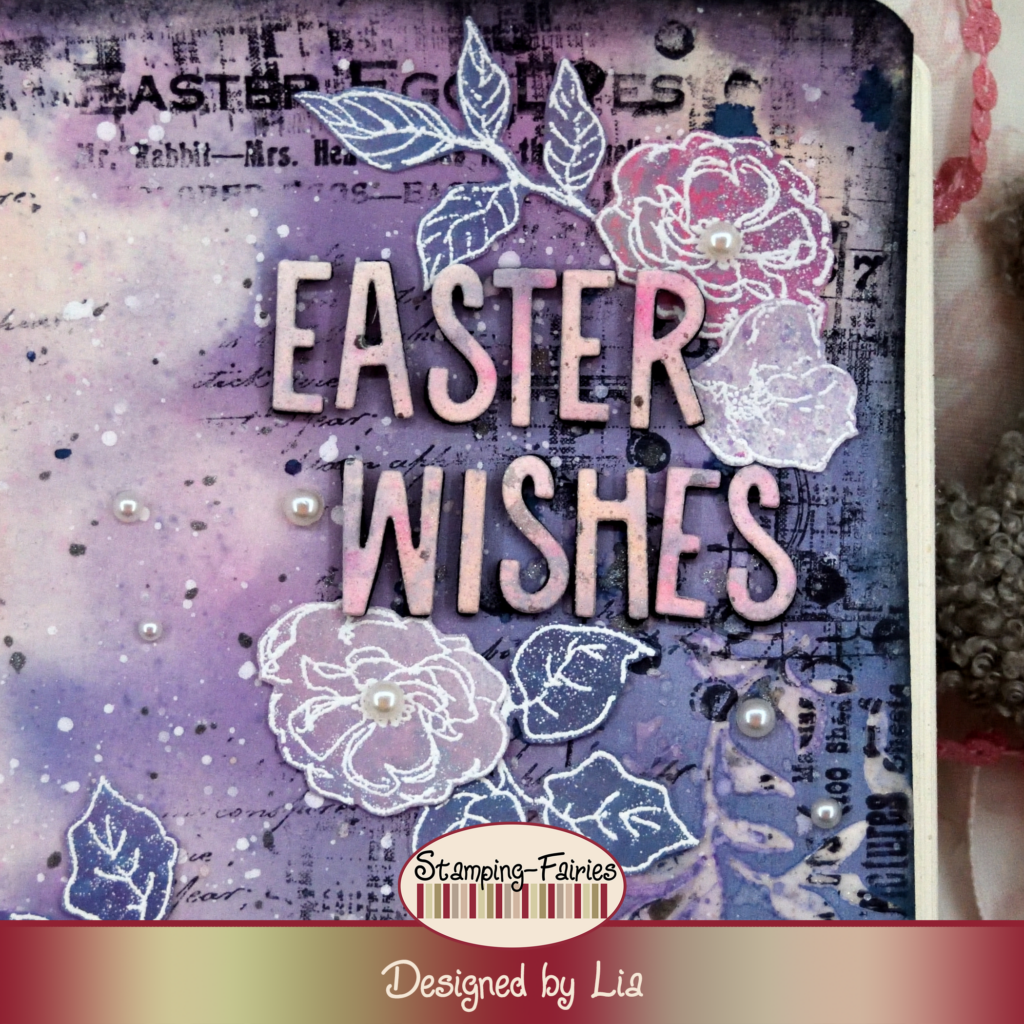
My sentiment is cut with the alphabet dies from the Sizzix Santa Greetings, Colorize Thinlits set. I used the same watercolour paper I coloured before, so my colours would coordinate. I also cut the sentiment out of black fun foam and I stacked the coloured letters on the foam, to give them more dimension. I attached the sentiment on the page and I arranged a few flowers around it. The sentiment says: „Easter Wishes“ and I give you many, many beautiful Easter wishes! As a last little bit of embellishment, I added Craft Consortium Pearls in the centers of the flowers and on some spots around my page.

And that was the project for today! I am very happy with how the colours worked on this page. It was an experiment and I concider it a success! Plus, they created a shade of light purple and I can not say no to purple… We are all parshall to some specific colours. I love purple! I really hope you like today’s project! I hope you got inspired! We will see each other again next Monday! Until then, stay creative and have fun!
*Deutsche Version*
Hallo zusammen! Willkommen zurück zu einem weiteren Mixed-Media Projekt. Ich habe heute ein weiteres Osterprojekt für euch. Dieses Mal habe ich meine Tinten verwendet, um einen magischen Effekt zu erzeugen … oder zumindest wollte ich das. Lasst mich wissen, ob ich es geschafft habe! Beginnen wir mit den Materialien, die ich verwendet habe:
Materialien
(wenn etwas nicht auf Lager ist,
bitte einfach auf „Produkterinnerung“ klicken)
- Prima Marketing – Art Basics – Gesso Clear
- Stamperia Stencil – Leaf
- Tim Holtz Distress Texture Paste – Sparkle
- Distress Oxide Sprays
- Tim Holtz Stamp Set – Deconstructed – Dearly Departed – MR. Rabbit
- Archival Ink – Jet Black
- Distress Paint – Picket Fence
- Liquid Pearls – White Opal
- Distress Spritz – Hickory Smoke
- Ranger – Tim Holtz Distress Oxide Pad – Black Soot
- Tim Holtz Distress Micro Glaze
- Tim Holtz Stamp Set – Floral Elements
- Ranger Embossing Pulver – White Super Fine Detail
- Sizzix Tim Holtz Thinlits – Santa Greetings, Colorize
- Craft Consortium Essential Adhesive Pearls – Natural
Für dieses Projekt habe ich in einem großen Art Journal gearbeitet und mit dem Hintergrund begonnen. Ich wollte feuchte Medien verwenden und trug daher zunächst eine dicke Schicht Gesso auf, um meine Seite zu schützen. Das habe Gesso getrocknet und dann mithilfe der Stamperia-Blattschablone und Ranger Sparkle Distress Texture Paste etwas Struktur hinzugefügt. Das Blattmuster hat in der oberen linken und unteren rechten Ecke meiner Seite entstand. Die Paste habe ich trocknen lassen und dann Farbe mit Distress Oxide Tinten in den Farben Chipped Sapphire, Picked Raspberry und Tattered Rose hinzugefügt. Ich habe mit den Tinten gesprüht, etwas Wasser hinzugegeben, die Farben sich bewegen und vermischen lassen, den Überschuss abgetupft und die Seite getrocknet. Die Farben habe sich vermischt und einen wunderschönen Effekt erzeugt! Als Nächstes kam das Stempeln! Ich habe Stempel aus den Tim Holtz Deconstructed, Dearly Departed und Mr. Rabbit Stempelsets mit Jet Black Archival Tinte verwendet und hauptsächlich um die Seitenränder und in die Bereiche mit dem Blattmuster gestempelt. Ich habe sowohl fettgedruckten Text als auch feine Textdetails, was mich wirklich freut! Dann habe ich Spritzer hinzugefügt. Ich habe drei Arten von Spritzern auf dieser Seite! Denn Spritzer sind nie genug! Zuerst habe ich Picket Fence Distress Paint (weiß) verwendet und damit gespritzt. Dann habe ich etwas White Opal Liquid Pearls verdünnt und damit gespritzt. Zuletzt habe ich Hickory Smoke Distress Spritz verwendet. Mit Black Soot Distress Oxide Tinte habe ich die Ränder meiner Seite abgedunkelt, und der Hintergrund war fertig.

Zeit, meine Bilder vorzubereiten! Mein Hauptmotiv ist der Hase. Er stammt aus dem Stempelset „Mr. Rabbit“ von Tim Holtz und ist mit Jet Black Archivtinte auf weißem Karton gestempelt. Ich habe einen weichen Pinsel verwendet und ihm mit Vintage Photo und Picked Raspberry Distress Tinten etwas Farbe hinzugefügt. Im nächsten Schritt musste ich das Papier gestalten, aus dem ich die Motive ausschneiden wollte. Ich habe mit einem Stück Aquarellpapier begonnen und es mit meinen Distress Oxide Tinten (Chipped Sapphire, Picked Raspberry und Tattered Rose) und etwas Wasser besprüht. Ich habe es getrocknet und mit Micro Glaze behandelt. Die Micro Glaze hat den kalkigen Look der Distress Oxide Tinten geglättet und die Farben lebendiger gemacht. Ich habe einen dunkleren Teil dieses Papiers gewählt und die Jacke und Fliege von Mr. Rabbit darauf gestempelt, ausgeschnitten und am Hasen befestigt. So hatte ich nun ein etwas dreidimensionales Stück. Als Nächstes musste ich meine Blumen gestalten. Ich habe die helleren, rosafarbenen Bereiche meines Aquarellpapiers ausgewählt und die Blumen und Blätter aus dem Stempelset „Floral Elements“ von Tim Holtz mit Ranger White Prägepulver heißgeprägt. Ich habe sie ausgeschnitten und rund um meinen Hasen angebracht.
Mein Spruch ist mit den Alphabet Stanzen aus dem Sizzix Santa Greetings Colorize Thinlits Set ausgestanzt. Ich habe dasselbe Aquarellpapier verwendet, das ich zuvor koloriert hatte, damit meine Farben aufeinander abgestimmt sind. Ich habe den Spruch außerdem aus schwarzem Schaumstoff ausgeschnitten und die farbigen Buchstaben darauf gestapelt, um ihnen mehr Tiefe zu verleihen. Ich habe den Spruch auf der Seite befestigt und ein paar Blumen darum arrangiert. Der Spruch lautet übersetzt: „Osterwünsche“ und ich wünsche euch ganz viele schöne Osterwünsche! Als letzte Verzierung habe ich in der Mitte der Blumen und an einigen Stellen auf meiner Seite Perlen von Craft Consortium angebracht.
Und das war das Projekt für heute! Ich bin sehr zufrieden mit der Farbgebung auf dieser Seite. Es war ein Experiment und ich betrachte es als gelungen! Außerdem ist ein heller Lilaton entstanden, und ich kann einfach nicht Nein zu Lila sagen … Wir alle haben eine Vorliebe für bestimmte Farben. Ich liebe Lila! Ich hoffe sehr, dass euch das heutige Projekt gefällt! Ich hoffe, ihr habt euch inspirieren lassen! Wir sehen uns nächsten Montag wieder! Bis dahin bleibt kreativ und habt Spaß!

Easter Blessings